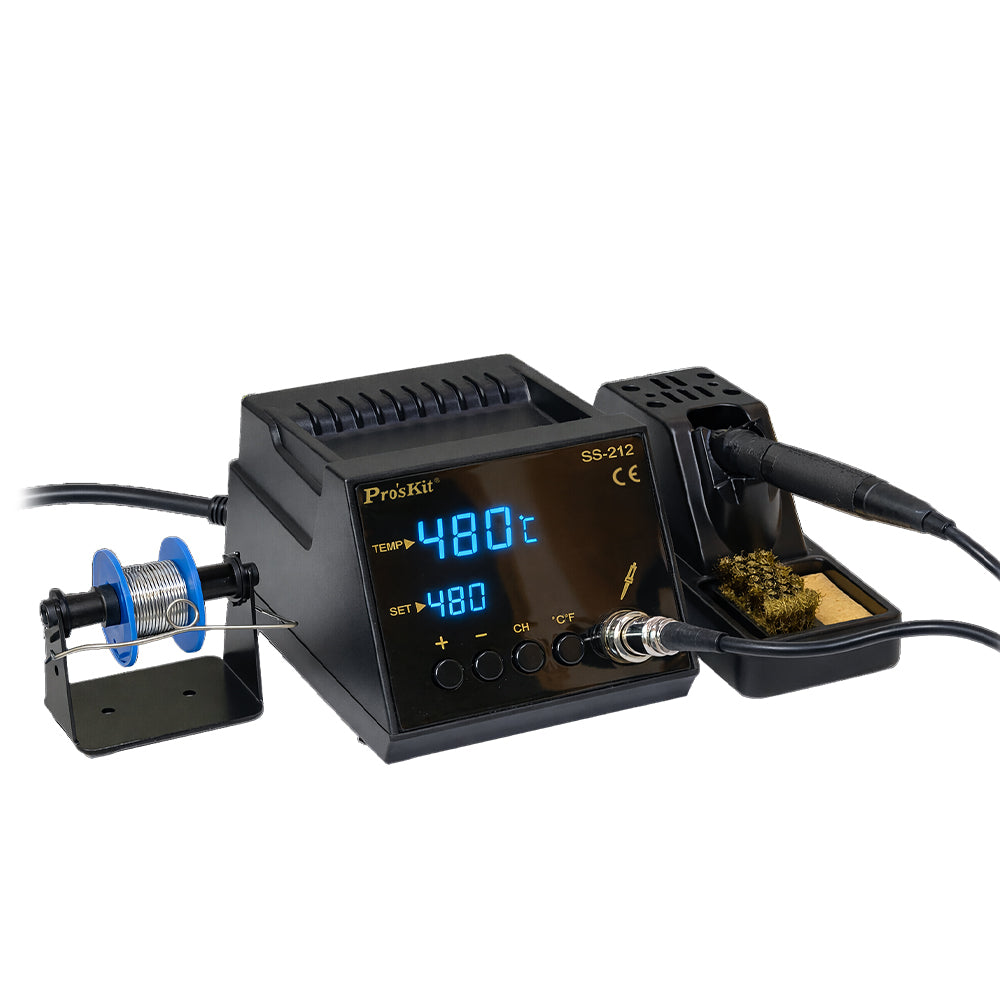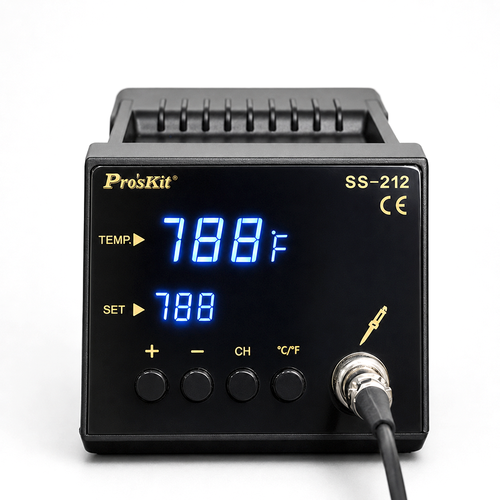
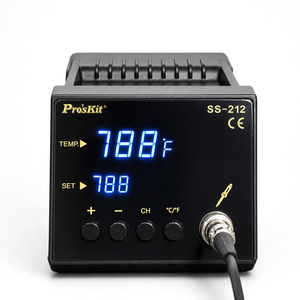
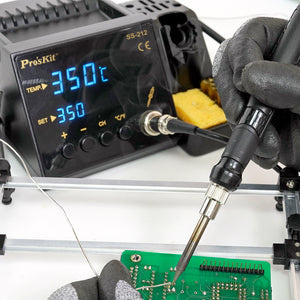


The Pro'sKit SS-212B is a 70-W soldering station with a T12 heating element and a dual LED display: The target and actual temperatures are shown simultaneously on the display; the tip reaches operating temperature in about 8 seconds, and the temperature range extends from 160 to 480 °C.
What sets the T12 heating cartridge apart:
The heating element and temperature sensor are located directly in the soldering tip rather than in the handle. This keeps the distance from the heating element to the soldering point short: The station heats up quickly and immediately adjusts the heat as it dissipates into a thick strand or a large surface area. The cartridge is plug-in—to change the tip shape, simply pull it out once the station is unplugged and the tip has cooled completely.
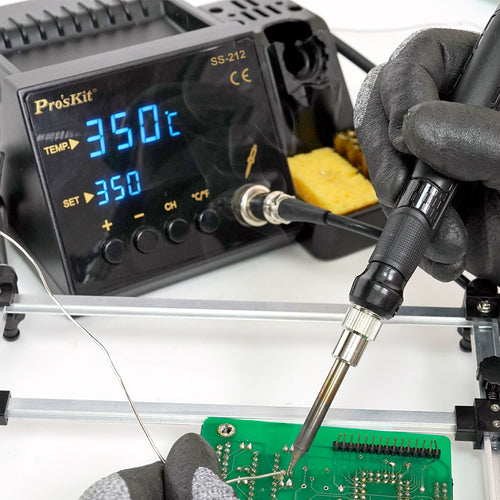
In camper van projects, you’ll need the soldering station wherever crimping isn’t enough: Tinning the ends of strands so they don’t fray in the terminal, connecting LED strips to power cables, extending sensor and signal wires, soldering pins to switches, USB jacks, and voltmeters, and repairing defective circuit boards and lighting modules. The dual display shows you whether the tip is actually at the right temperature before you start—and how much it drops during soldering.
Operated via four buttons.
Use “+” and “−” to set the temperature. The CH button saves preset temperatures: hold it for two seconds until the display flashes, set the value, and confirm with CH. Press the “°C/°F” button briefly to switch the unit of measurement; press and hold it to enter calibration mode and adjust the display in ±9 increments. After 5 minutes of inactivity, the station returns to a standby temperature of 200 °C—this saves power and protects the tip. Moving the soldering iron wakes it up again.
Design.
The station is powered by a toroidal transformer, which keeps the output voltage stable and generates minimal electromagnetic interference. The soldering iron and station are connected via a circular connector (aviation connector); the soldering iron cable is a heat-resistant silicone cable. The package includes a tray with a cleaning sponge and copper cleaning wool, as well as a holder for the solder roll.
At a Glance
- Pro'sKit Soldering Station, Manufacturer Part Number SS-212B
- Power: 70 W (max.)
- Temperature range: 160–480 °C, display in °C or °F
- LED display shows setpoint and actual temperature simultaneously
- T12 heating cartridge: Heating element and sensor in the tip; plug-in design and replaceable without tools
- Heat-up time: approx. 8 seconds
- Preset temperatures via the CH button
- Display calibration in ±9 steps
- Auto-standby: switches to 200 °C after 5 minutes of inactivity
- Toroidal transformer, circular connector, heat-resistant silicone cable on the probe
- Connection: AC 220–240 V, power cord 3 × 0.75 mm², 1.2 m
- Dimensions: 110 × 155 × 90 mm, weight 1.7 kg
- Replacement tips from the 5SS-212 series in shapes B, 0.2B, 2C, I, K, and 1.6D
- Package Contents: Station with soldering iron, tray, copper cleaning wool, cleaning sponge, 10 g of solder, solder holder, user manual
Frequently Asked Questions
What does T12 mean?
T12 refers to the design of the heating cartridge, in which the heating element, temperature sensor, and soldering tip form a single unit. Advantage: short distances, fast heating, and quick temperature adjustment. Disadvantage: When changing the tip shape, you always have to replace the entire cartridge, not just the tip.
What temperature should I set?
Base your setting on the solder and the joint: Typical working temperatures range from about 300 to 380 °C. Keep the temperature lower if components are heat-sensitive; set it higher if the heat dissipates into a thick wire or a large ground plane. A short, hot soldering cycle is usually gentler on the component than a long, lukewarm one.
Why does the displayed actual temperature drop during soldering?
This is normal: The solder joint draws heat away from the tip. That’s exactly what the second line on the display is for—you can see how much the temperature drops and when it returns to the target. Wait until the actual and target temperatures are close to each other again before making the next solder joint.